
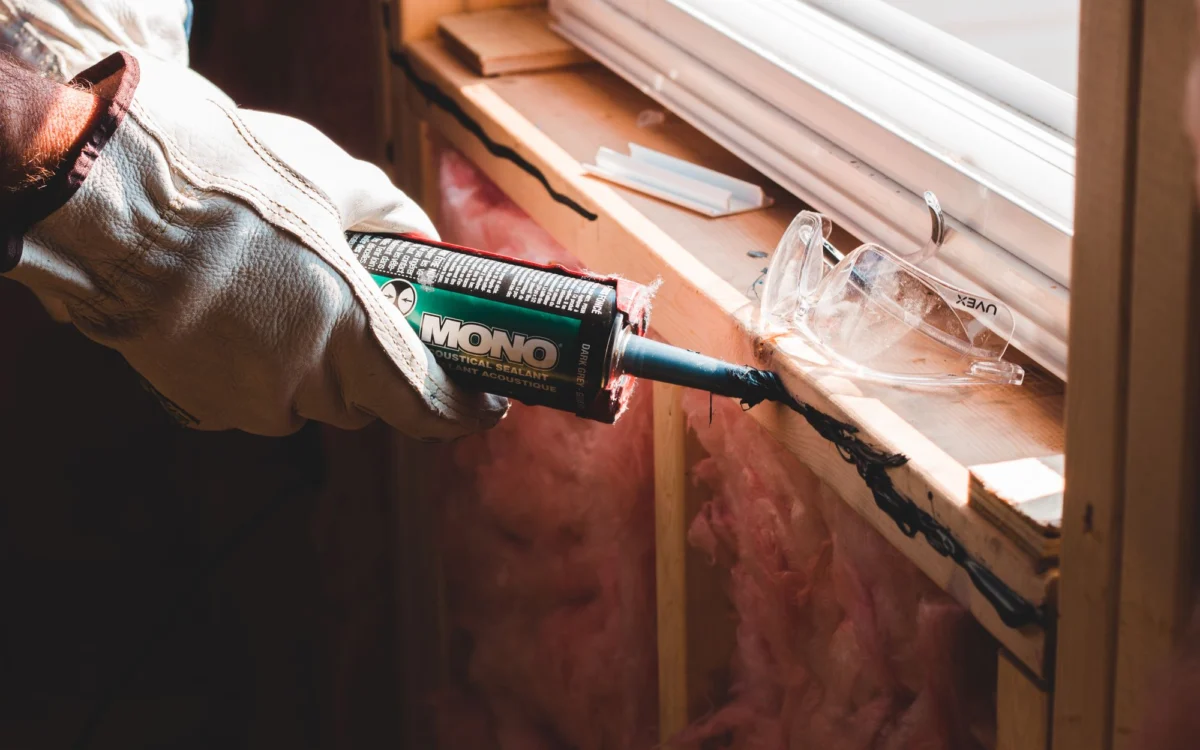
How to Reseal Windows to Stop Drafts and Leaks

To reseal windows, find the leaks, cut out all the old caulk, clean and dry the joint, then run a new bead of exterior-grade sealant and smooth it with a wet finger. Use foam backer rod for gaps deeper than about 1/4 inch, and never caulk over the weep holes at the bottom of the frame. One window takes about an hour plus drying time.
Quick Answer: 6 Steps
- Find the leaks with the paper or incense test.
- Cut out all old caulk with a utility knife or removal tool.
- Clean with soap and water or rubbing alcohol and let it dry completely.
- Fill deep gaps (over 1/4 inch) with backer rod.
- Apply new sealant in a steady bead with the nozzle cut at 45 degrees.
- Smooth it right away with a damp finger or tool, then let it cure.
Signs Your Windows Need Resealing
GE Sealants lists the warning signs:
- Caulk that is cracking, peeling, shrinking or pulling away from the frame or wall
- Drafts, especially on windy days
- Dampness along the inside trim or water stains below the window
- Discoloration or mold near the frame edges (see what black mold looks like)
- A sudden jump in heating or cooling bills
Family Handyman recommends checking caulk after your first year in a new home (houses settle) and renewing it every few years in older homes. GE suggests inspecting windows at least once a year, ideally before winter or summer.
Note: fog or condensation between the two panes of a double-pane window means the glass unit’s own seal has failed. Caulk won’t fix that; the glass unit needs repair or replacement.
How to Find Air Leaks
ENERGY STAR gives two simple tests:
- Paper test: close the window on a sheet of paper. If it slides out easily, the window could seal tighter.
- Incense test: hold a lit incense stick near the seams and sash. If the smoke blows sideways or gets sucked in, you’ve found a leak.
Caulk or Weatherstripping?
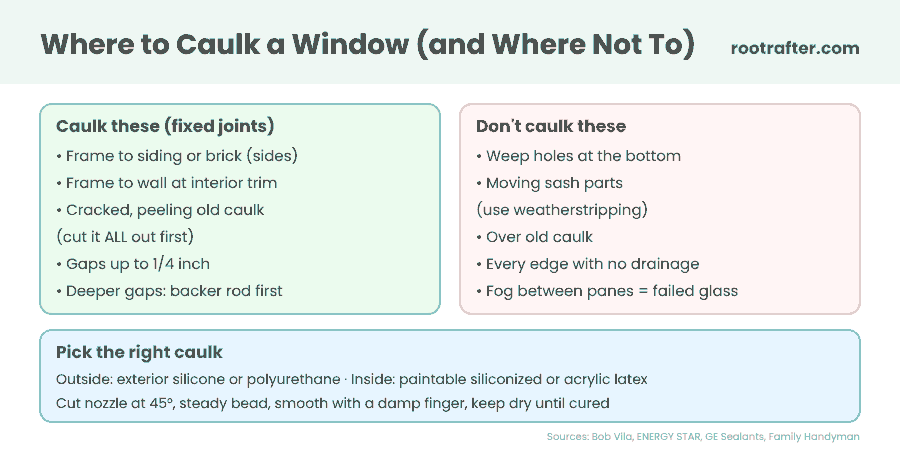
- Caulk is for joints that don’t move: where the frame meets the siding, brick or interior wall.
- Weatherstripping is for parts that do move: the sash and where it closes. Bob Vila warns that caulking moving parts can seal the window shut.
Which Caulk Should You Use?
| Caulk type | Where | Pros | Cons |
|---|---|---|---|
| 100% silicone | Inside and outside | “Top choice for outdoor surfaces” (Family Handyman); flexible and waterproof | Some types can’t be painted |
| Polyurethane | Outside | Paintable; sticks to many materials | Breaks down in sunlight unless painted |
| Siliconized latex | Inside and outside | Paintable; easy cleanup | Can be damaged by constant rough weather |
| Acrylic latex | Inside | Paintable; low odor | Not weather resistant |
Source: Family Handyman. For outside, Bob Vila says to always pick a caulk labeled for exterior use, such as exterior-grade silicone or polyurethane.
Bottom line: silicone or polyurethane outside; paintable siliconized latex or acrylic latex inside, where the trim will be painted.
Tools You’ll Need
- Caulk gun (a mid-range smooth-rod gun is fine)
- Exterior or interior caulk (see the table above)
- Utility knife, putty knife or caulk removal tool
- Rubbing alcohol or soap and water, plus rags
- Painter’s tape (optional, for very straight lines)
- Foam backer rod for deep gaps
Step 1: Remove All the Old Caulk
This is the step most people skip, and it’s the reason new caulk fails.
- Cut along both edges of the old bead with a utility knife and pull or scrape it out, working in sections (GE).
- If it’s hard and stubborn, a hair dryer on low can soften it (GE).
- Bob Vila is direct: “Never place new caulk over old caulk.”
Step 2: Clean and Dry the Joint
- Wipe the joint with rubbing alcohol (Family Handyman) or soap and water (GE).
- Let it dry completely. Family Handyman warns that leftover moisture can let mold grow under the new caulk.
- Pick a dry day. Bob Vila advises against caulking when it’s too cold, wet or humid. Check the tube for its temperature range.
Step 3: Fill Big Gaps With Backer Rod
Caulk is meant for gaps of about 1/4 inch or less (ENERGY STAR). For anything deeper, push foam backer rod into the gap first (Bob Vila), leaving room for the caulk on top. Don’t force the rod in too hard; ENERGY STAR notes this can bend the frame.
Contractors on Reddit add a useful point: caulk should stick to the two sides of a joint, not the back as well. Backer rod gives it that shape, so the bead can stretch as the house moves instead of cracking.
Step 4: Apply the New Caulk
- Cut the nozzle at a 45-degree angle, starting with a small opening and matching it to the gap (GE, Family Handyman).
- Pierce the inner seal of the tube.
- If you like crisp lines, put painter’s tape on both sides of the joint.
- Hold the gun at about 45 degrees and move at a steady pace with steady pressure. Too slow and it clumps; too fast and it skips (Family Handyman).
- Family Handyman suggests starting at a corner and working toward the middle, then doing the same from the other corner, on all four sides.
Step 5: Smooth and Cure
- Smooth the bead right away with a slightly damp finger or a smoothing tool (GE, Bob Vila).
- Pull the tape off while the caulk is still wet (GE).
- Let it cure before rain. GE’s window silicone is water-ready in about 30 minutes and fully cured in 24 hours; drying times vary by product, temperature and humidity, so check the tube.
Where NOT to Caulk
- Weep holes. These small slots at the bottom of many vinyl, aluminum, sliding and double-hung windows let water drain out. Bob Vila says “never fill weep holes with caulk.” Clear them with compressed air or a small wire instead.
- Moving parts. Caulking the sash can seal the window shut.
- All the way around without thinking. Bob Vila notes that sealing every edge of the frame can trap moisture behind it. Leave drainage paths open.
- Against the glass stops of insulated glass units. On Reddit, window installers say caulk there can trap water and cause the glass seal to fail.
Inside vs Outside
- Outside stops water and wind. Use exterior-grade silicone or polyurethane.
- Inside stops drafts at the interior trim. Use paintable caulk. For big drafts behind the trim, ENERGY STAR’s project removes the trim and fills the gap with low-expansion foam or backer rod, a 1–2 day DIY job.
Older homes: if your home was built before 1978, check EPA lead-safe guidance before scraping or sanding painted trim (ENERGY STAR).
7 Window Caulking Mistakes Real People Make (From Forums)
- Caulking over old caulk. It peels off with the old layer. Cut it all out.
- Caulking a damp or dirty joint. New caulk won’t stick.
- Spreading the bead too thin. Thin caulk splits as the frame moves.
- Using acrylic latex outside. It isn’t weather resistant and breaks down.
- Using silicone where you plan to paint. Most silicone can’t be painted. Read the label.
- Filling deep gaps with caulk alone. Use backer rod for anything over 1/4 inch.
- Sealing the weep holes. That traps water inside the frame.
How Much Does It Cost to Reseal Windows?
Doing it yourself costs about $10–$30 for caulk and basic tools (Family Handyman). Professional prices vary by region, window size and access (ladders or scaffolding), so get a few quotes.
FAQ
How often should windows be resealed?
Inspect them once a year (GE). Older homes often need fresh caulk every few years (Family Handyman).
Can I put new caulk over old caulk?
No. Remove the old caulk first, or the new layer will fail with it.
What is the best caulk for windows outside?
An exterior-grade 100% silicone or polyurethane sealant.
How long does window caulk take to dry?
Many silicones resist rain in about 30 minutes and fully cure in 24 hours, but follow the label for your product.
Can I reseal double-pane windows that are foggy between the glass?
No. Fog between panes means the glass unit’s seal has failed. Caulk around the frame won’t fix it.
Final Thoughts
Resealing windows is a cheap, beginner-friendly job that cuts drafts and keeps water out. The secret is in the prep: remove all old caulk, clean and dry the joint, and choose an exterior-grade sealant. Then lay a steady bead, smooth it, and leave the weep holes open.